Printing 1099 Forms
This article explains how to print 1099 forms for the company and each recipient.
While CheckMark Inc. attempts to maintain up-to-date and accurate tax and form information, we cannot be responsible for changes or discrepancies in tax values and forms that are filed incorrectly.
Important: You must install the latest version of Adobe Reader to print 1099 and 1096 forms properly. Go to www.adobe.com to download the latest update.
Summary Report
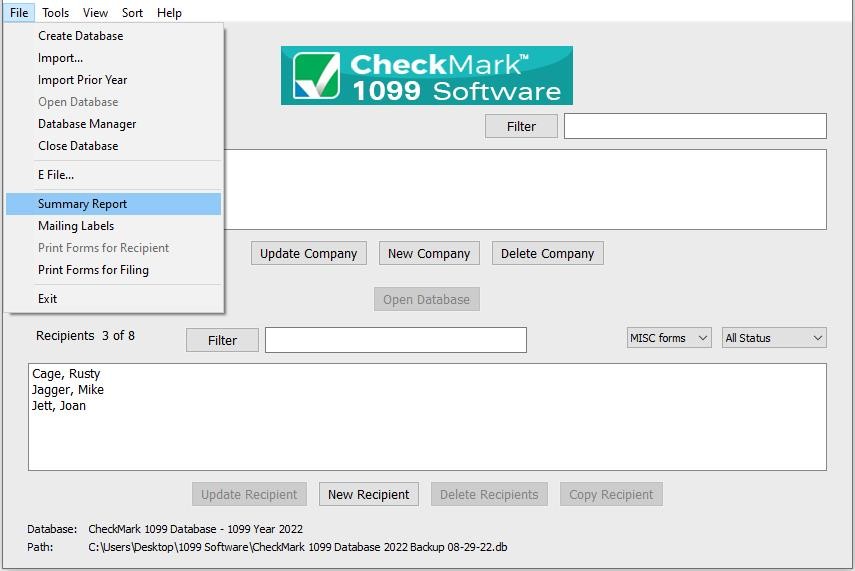
The 1099 Summary Report summarizes recipient payments by 1099 type. These totals can be compared to Box 5 on Form 1096. Use this report to verify the accuracy of your information before printing.
- Go under File, select Summary Report. Click Print.
Print 1099 Forms and 1096 Form for Each Company
- Select the company you wish to print 1099s and a 1096 form.
- Select which type of 1099 form you want to print from the Forms drop down menu: MISC, DIV, INT, R, S and NEC.
- Select which recipient(s) in the list you would like to print forms for. If no recipients are selected, all recipients will be included.
Note: You can sort the recipients by using the Status drop down menu to group recipients by Printed, Completed, Validated, Corrected, and Void. For more information on using the Status drop down menu and what each Status means, see “Status.”
- Under the File menu, select the Print Forms for Filing option.
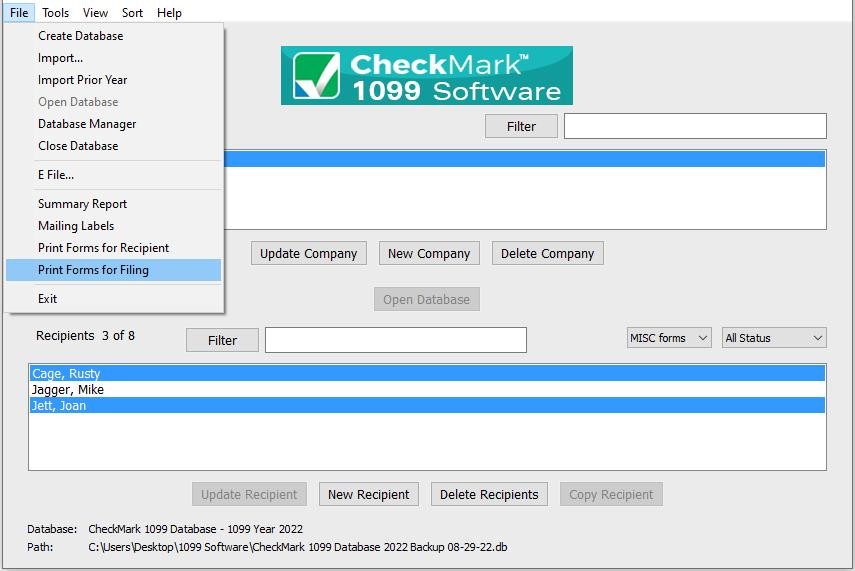
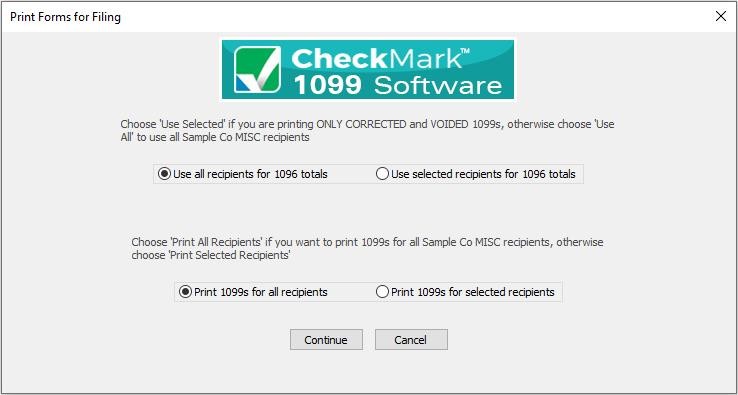
- A popup window appears.
The first section pertains to 1096 information. The default choice is to Use all recipients for 1096 totals for the selected company. If you are filing Corrected or Voided 1099s, then choose the Use selected recipients for 1096 totals option.
The second section of the screen pertains to 1099s. The default choice is to Print 1099s for all recipients. If you are filing Corrected or Voided 1099s and only want selected recipients to be included, choose the Print 1099s for selected recipients options.
**If printing 1099 MISC or INT Only**
If you are printing 1099 MISC or INT forms, you’ll be prompted to choose I Sent 2-up forms to recipients or I sent 4-up forms to recipients. Choose the I sent 2-up forms to recipients option if you plan on using 2-up pre-printed forms for all copies of 1099-MISC. If you plan on printing Copy B, Copy 2 and Copy C for the recipient on blank paper, you can select I sent 4-up forms to recipients. After making your selection, click OK.
Note : When opted NEC forms you’ll be prompted to choose I sent 3-up forms to recipients.

Note: If you have not selected any recipients for the company selected, all recipients will be printed.
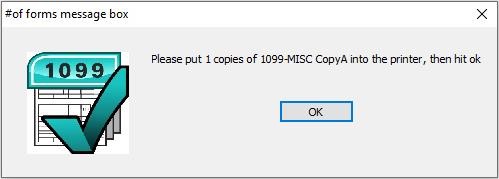
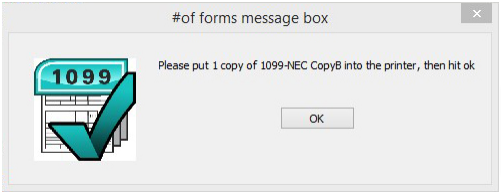
- A message box will open telling which form to load in the printer and how many. Click OK after you have loaded the correct forms in your printer. Do this for each message box that appears.
Printing 1099s for Recipients
- Select the company you wish to print 1099 forms for.
- Select which type of 1099 form you wish to print from the Forms drop down menu: MISC, DIV, INT, R, S or NEC.
Note: Recipients shown will be for the type of 1099 form that is selected. You can choose SHOW ALL to show all recipients, but you must select a specific 1099 form from the drop down list to be able to print.
- Select which recipient(s) in the list you wish to print 1099s for.
Note: You can sort the recipients by Status drop down menu to group recipients as Printed, Completed, Validated, Corrected and Void. For more information on using the Status drop down menu and what each Status means, see “Status.”
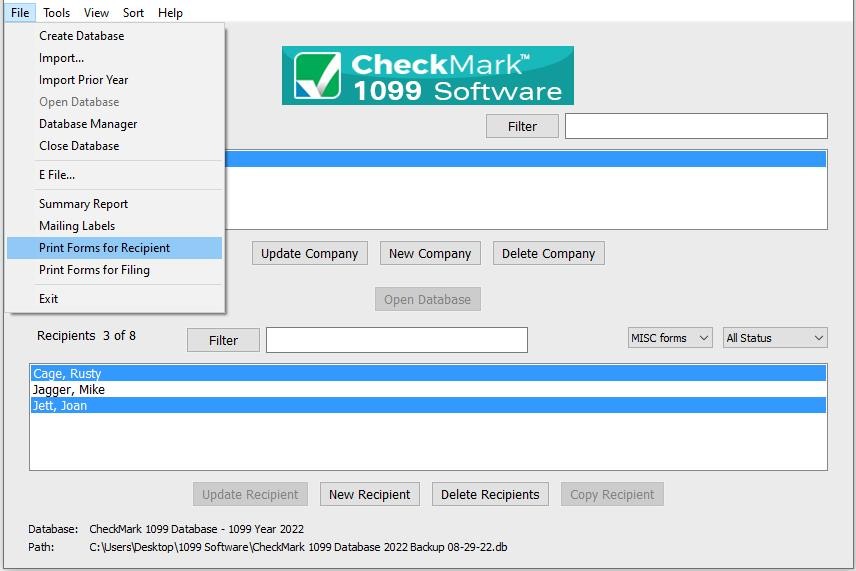
- Under the File menu, select the Print Forms for Recipient option.
**If Printing 1099-MISC and 1099-INT only**
If you are printing 1099 MISC forms or 1099 INT forms, you’ll be prompted to choose Print 2-up MISC or INT forms or Print 4-up MISC or INT forms. Choose Print 2-up MISC forms option if you plan on using 2-up pre-printed forms for all copies of 1099 MISC. If you plan on printing Copy B, Copy 2, and Copy C for the recipient on blank paper, you can select Print 4-up MISC Forms. After making your selection, click OK.
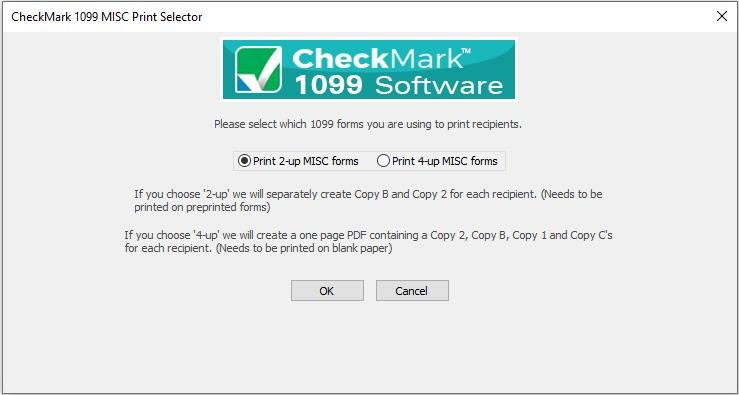
Note: Using the 4-up sheet method will produce two Copy Cs instead of one Copy 1
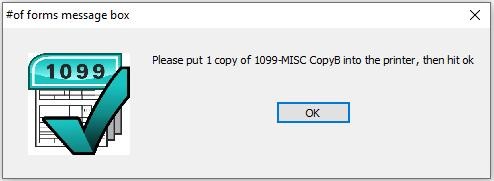
- If printing 2-up on pre-printed forms, a message box will open telling you which form to load in the printer and how many. Click OK after you have loaded the correct forms in your printer. Do this for each message box that appears for each form.
**If Printing 1099-NEC only**
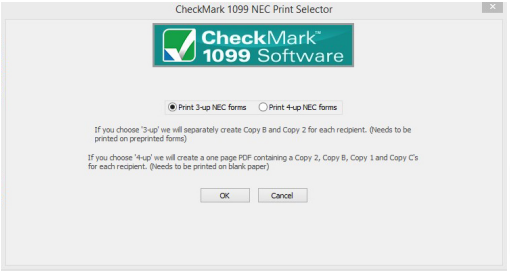
If you are printing 1099 NEC form you’ll be prompted to choose Print 3-up NEC or Print 4-up NEC. Choose Print 3-up NEC forms option if you plan on using 3-up preprinted forms for all copies of 1099 NEC. If you plan on printing Copy B, Copy 2, and Copy C for the recipient on blank paper, you can select Print 4-up NEC Forms. After
making your selection, click OK.
Edit Printing Formats
You can adjust each individual print field if printing on pre-printed forms.
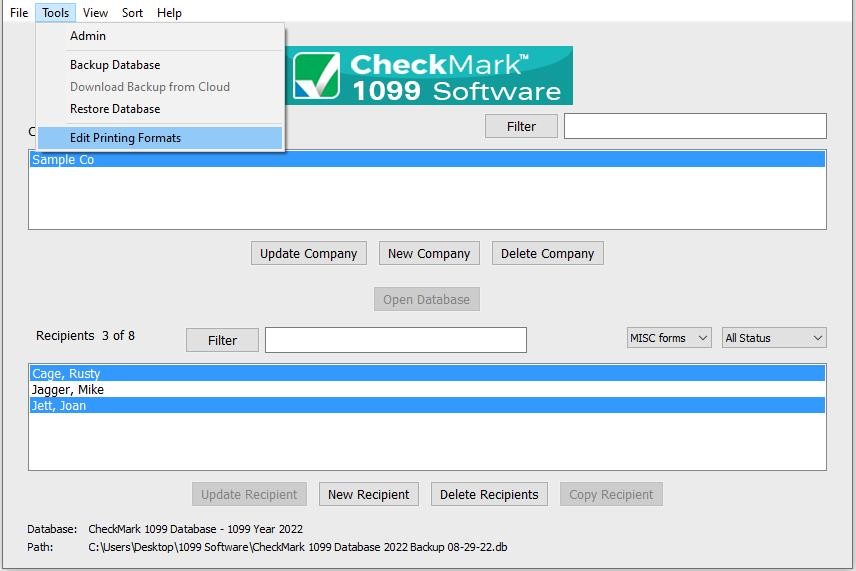
- Choose Edit Printing Formats located under the Tools menu.
- Select which forms you want to modify from the drop down menu: MISC 2-up form, DIV form, INT form, R form, S form, NEC Form and 1096 form.
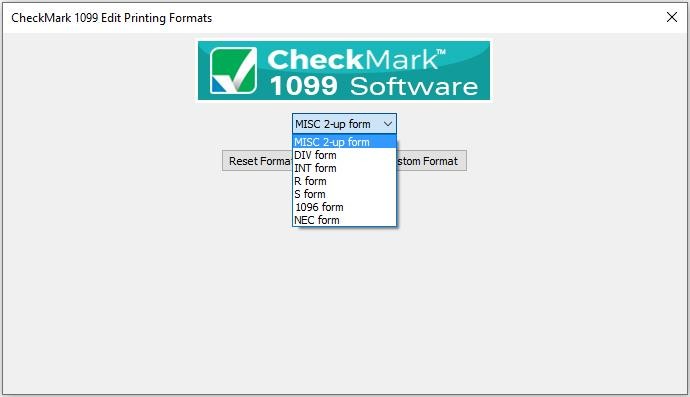
- Click Edit Current Custom Format. A window showing all print fields on the selected form opens.
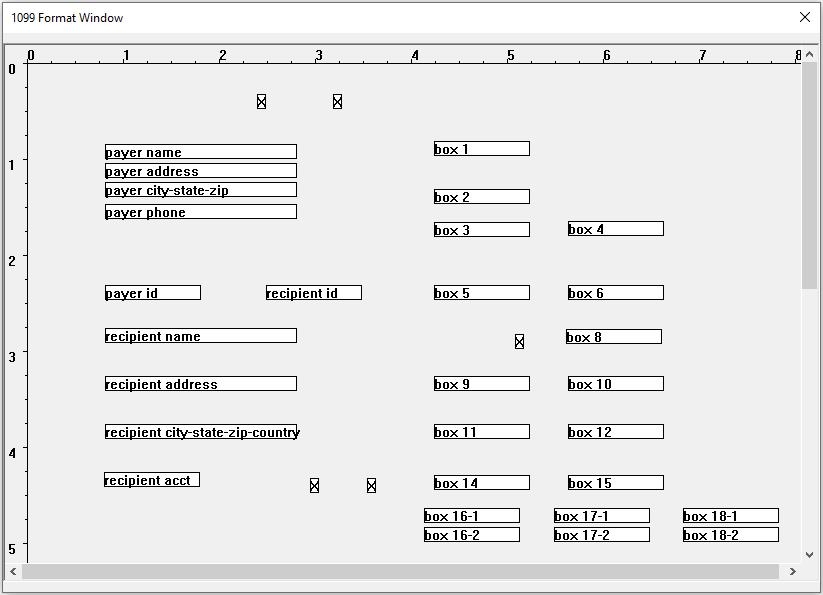
You can adjust any field by dragging it with the mouse. Or click on any field to highlight and use arrow keys on the keyboards.
Double-clicking any field will turn the text from ‘black’ or ‘red’ or vice versa. Any field labeled in ‘red’, will not print.
- To reset the back to the default format, click the Reset Format button
Edit Page Format (Mac Only)
If using a Macintosh computer, you must set the printing preferences the first time you print to correctly format the page.
A warning message will appear the first time you try to print.
You can access the Edit Page Setup screen by clicking the Edit Page Setup button.
You can also access the Edit Page Setup screen under the Tools menu.
- Click Edit Page Setup under the Tools menu.
- Follow the instructions in the warning message. You can also print out the instruc-tions to follow along.

