This article shows you how to create a new company file and enter basic company information.
Creating a New Company
- On Windows, double click the 1099 shortcut on the desktop or click the Start menu, select Programs, then select CheckMark 1099 from the CheckMark Inc. File.
On Macintosh, double click on the CheckMark 1099 alias on the dock or on your Desktop, or double click the CheckMark 1099 icon located in the install folder that was installed on your hard drive
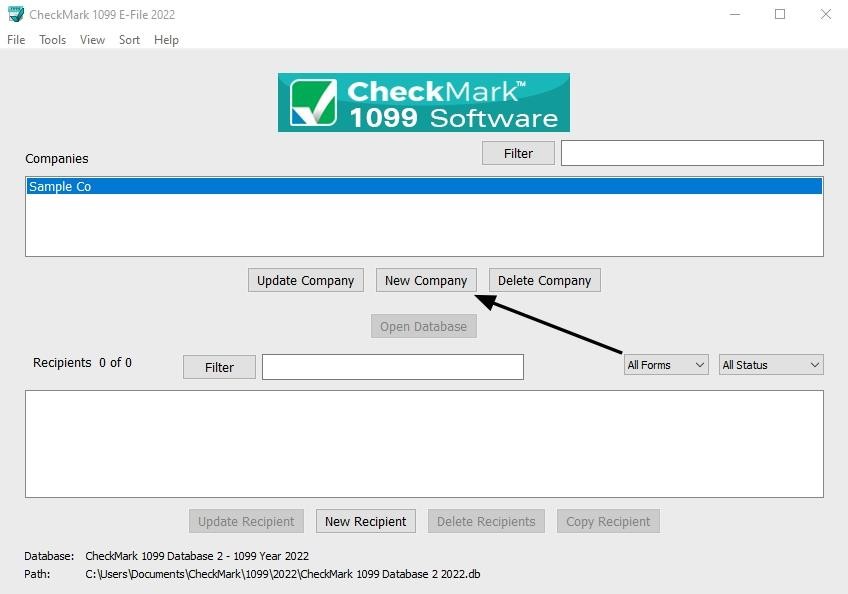
- Click the New Company button in the middle of the screen.
Note: If the New Company button is greyed out that means you need to first open a database or create a database. Learn more about Creating a Database.
- Enter Payer Information for all pertaining fields.
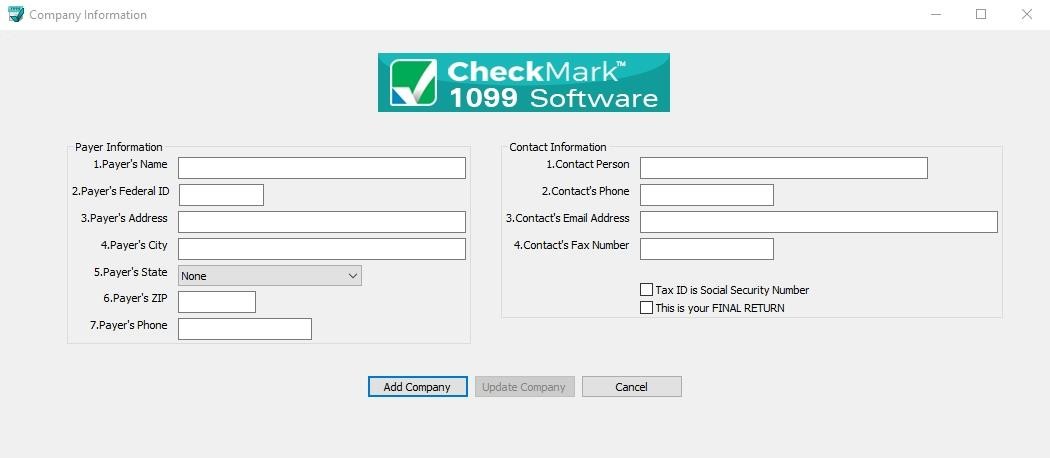
- Click Add Company button to Save.
Updating an Existing Company
- Highlight the company in the list you wish to update and click the Update Company button.
- After all changes have been made to the Payer Information, click the Update Com-pany button to save the changes
Deleting a Company
You cannot delete a company if there are any recipients created within the company. You must delete the recipients first before deleting a company. For information on deleting recipients see “Deleting a Recipient.”
- Select the company you wish to delete.
- Click Delete Company
- In the pop-up window, click the Confirm Delete button.
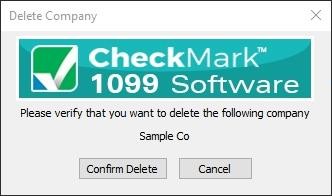
If no recipients are associated with this company, the company will be deleted.
Filtering Companies
You can use the Filter button to search for certain companies in the list. To find a particular company, enter all or part of the name of the company into the Filter box area at the top of the screen and click the Filter button. The Filter will search for any companies that contain those variables.
You can also use an asterisk (*) to help sort groups. For instance, if you enter the first letter and then asterisk, (ex: N*), you will receive all companies that begin with the letter “N”.
Sorting Companies
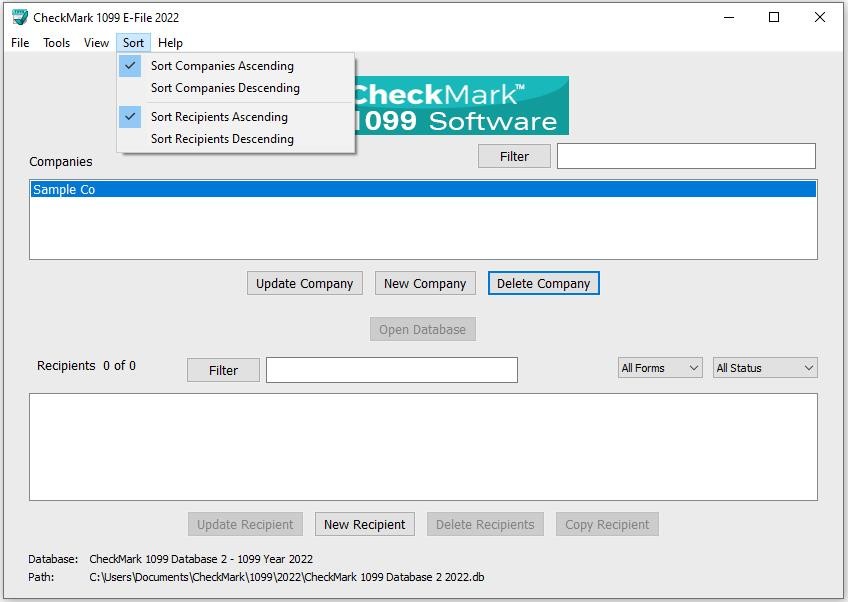
You can sort companies by Ascending or Descending order. To select which type of sort to use, go under the Sort menu at the top of the screen and choose either Sort Companies Ascending or Sort Companies Descending.
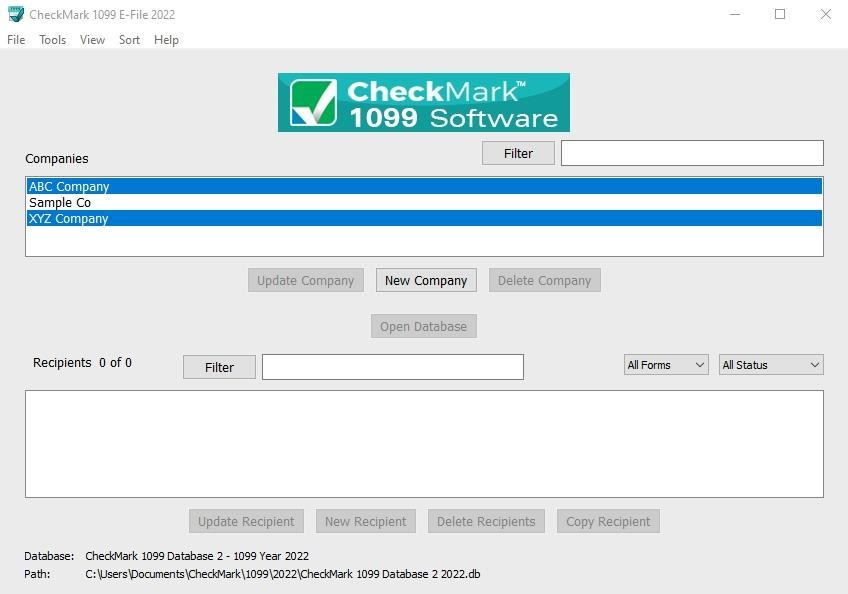
Selecting Multiple Companies
You can Select multiple companies if you choose to eFile 1099s using the IRS FIRE system.
Consecutive Selection
Windows: You can select multiple companies by selecting the first company you want while holding down the mouse button and moving the mouse pointer down through the list.
You can also click on the first company, hold down the ‘Shift’ key on the keyboard, and then click on the last company you want in the list.
Macintosh: Click on the first company you want in the list, hold down the ‘Shift’ key on the keyboard, and then click on the last company you want in the list.
Non-Consecutive Selection
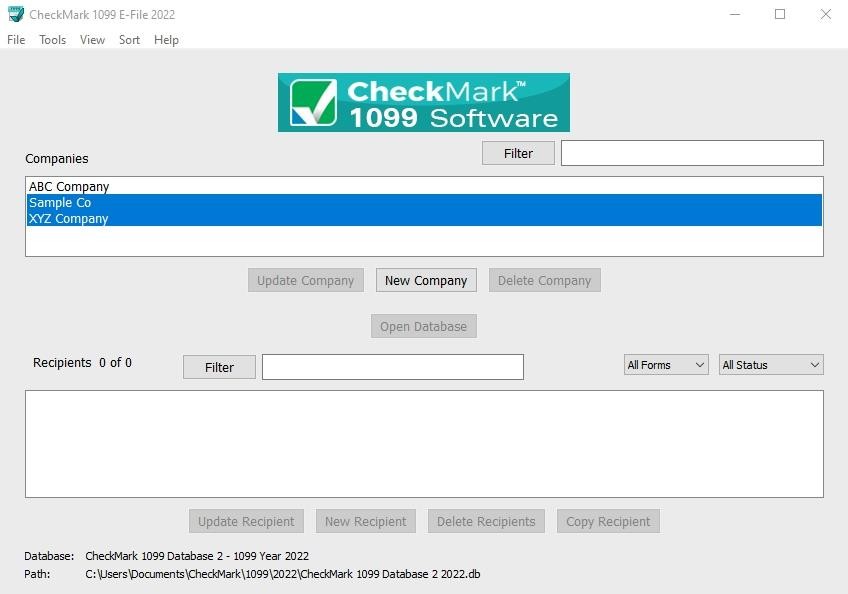
Windows: To select specific companies as a group, click on the first company you want, hold down the ‘Ctrl’ key on the keyboard and click on any other companies you want to include.
Macintosh: To select specific companies as a group, click on the first company you want, hold down the ‘Command’ key (also referred to as the Apple key) on the keyboard and click on any other companies you want to include.
