
CheckMark Payroll will accommodate up to 99 departments for your company’s payroll distribution. Once defined on the Departments window, you can assign a default department to an employee and/or define the particular departments that an employee’s wages will be distributed to on the Employees, Distribute Hours or Allocate Dept/ Jobs windows. CheckMark Payroll allows you to create new departments, modify or delete existing departments. Learn how to set up departments in CheckMark Payroll.
Note: Tenant Pro Users: Departments in CheckMark Payroll Program are Properties in Tenant Pro. Your Department list MUST match the Property ID report from Tenant Pro in order to post from CheckMark Payroll into Tenant Pro. See your Tenant Pro manual for more information.
Setting Up Departments
- Click Setup in the Command Center, then select Departments.
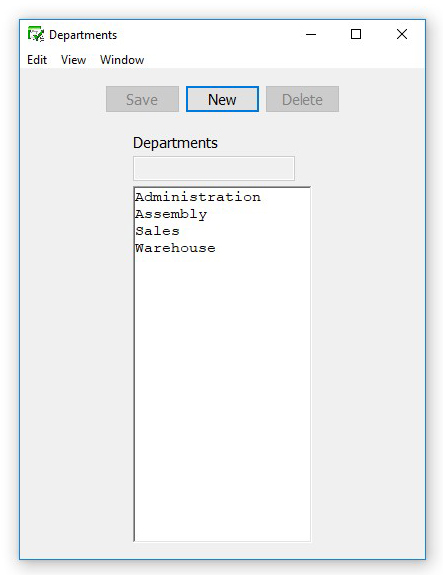
- Click New.
- Enter a name for the department in the edit box, and click OK.
Department names can be up to 17 characters.
Modify Departments
- Click Setup in the Command Center, then select Departments.
- Select the department from the list.
- Modify the department name in the edit box.
- Click Save.
Deleting Departments
You can delete a department provided it is not assigned to any employees and has not been used on any existing checks. To delete a department:
- Click Setup in the Command Center, then select Departments..
- Select the department from the list.
- Click Delete. An alert appears asking you to verify that you wish to delete the department.
- Click Yes to delete the department.