This article will provide instructions about how to import personal and wage information of an employee. The employee information that you import must be in a text file, with tabs between fields and a return after each employee record.
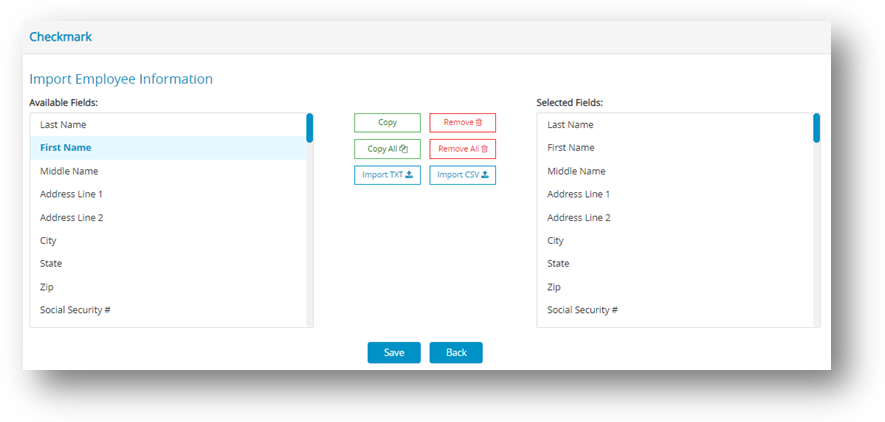
- Click Employees option from the menu and then click Import.
Step result: The following window appears.
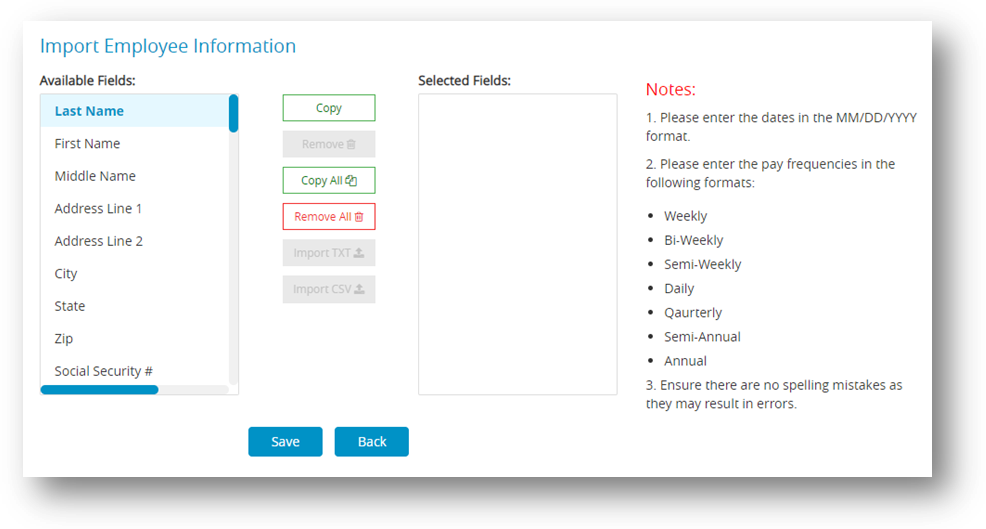
- Copy each field that you want to import in the order that it appears in the text file.
- Highlight the field in the Available Fields list and then click Copy. As you copy each field, it appears in the Selected Fields list on the right.
Note: You can also double-click a field in the Available Fields list to copy it to the Selected Fields list. To copy all fields in the order that they appear in the Available Fields list to the Selected Fields list, click Copy All button.
To remove a field from the Selected Fields list, highlight the field and click Remove. You can also double-click a field in the Selected Fields list to remove it.
Important: To import data from a text or csv file, it is essential to include the Last Name, First Name, Email Address, Phone number, Address Line, City and Zip fields are mandatory. As there are no designated field names in the file, it is crucial to consider the sequence of the fields while importing the data.
- (optional) Click Save if you want to save the order that the fields appear in the Selected Fields list for future importing.
- After selecting the appropriate fields for the Selected Fields list, click Import TXT or Import CSV based upon your requirement.
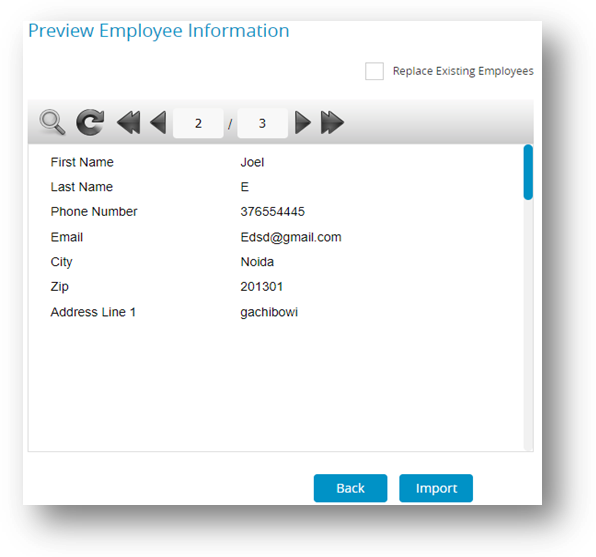
Step result: A dialog box appears. - Select the appropriate text file to import and click Open. The Import Preview window appears:
This window allows you to see the Selected Fields list with the contents of the selected text file by record. This can help you find any trouble spots before you actually import the data.
- (optional) Check the Replace Existing Employees checkbox if you want the information in the text file to replace existing employee information in your company.
- When you’re finished previewing the text file, click Import to read the information into your company.
Note: If you intend to import employee hours, in the Enter Hours window, and use employee name as part of your import parameter(s), exporting employee names from your time clock program and importing into CheckMark Payroll is one way of assuring that they are identical and avoid errors. Or you can export employee names from CheckMark Payroll and import into your time-clock program if the program allows.
Warning: The employee’s department option can only be imported if a department with the same name has already been set up in the Deductions screen.

