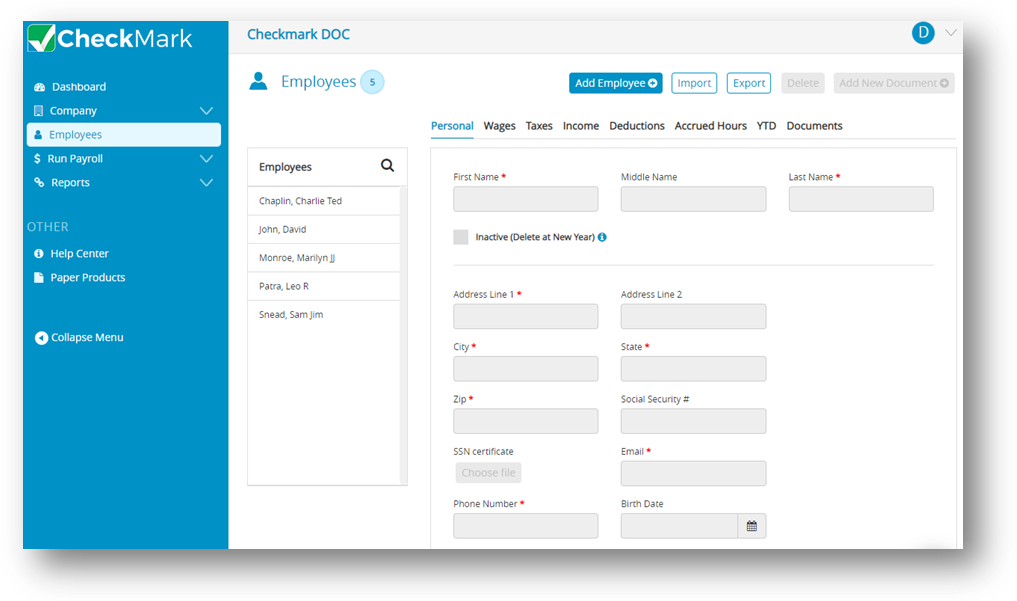
It is important to note that the items assigned to individual employees in CheckMark Online Payroll should be set up beforehand in the previous sections. In case any necessary items such as deductions, additional incomes, etc. are missing, it is recommended to create them prior to setting up employees. Once all items are properly set up, then you can refer this article to learn how to set up your employees in CheckMark Online Payroll.
For more information about Employees, refer “How to set up employee information“.
Employees
CheckMark Online Payroll allows you to add an unlimited number of employees to your company’s payroll system, so you don’t have to worry about hitting a maximum limit. To quickly see the total number of employees in your employee list, simply refer to the “Number of Employees” field.
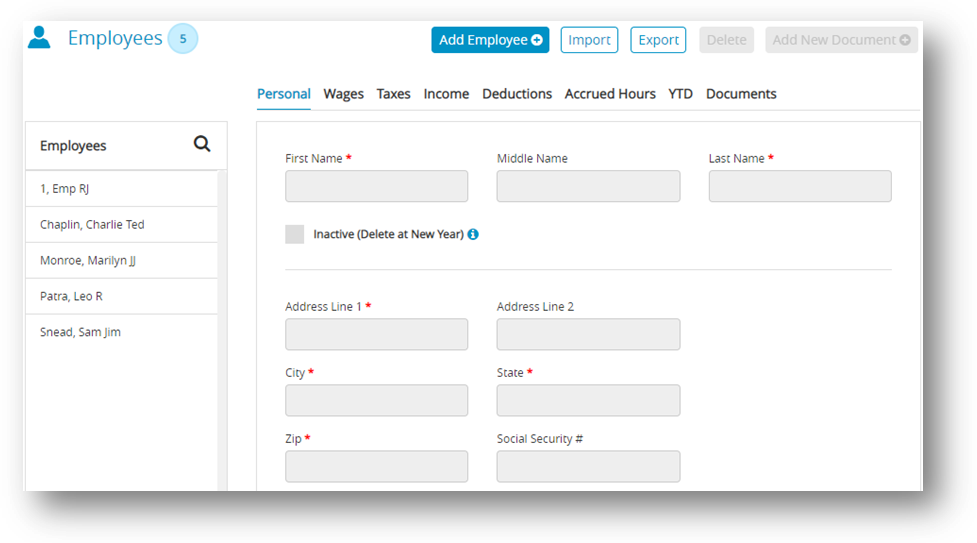
Using the Employee View Tabs
The tabs will allow you to quickly access different information about an employee. Viewing different information about your employees is as easy as clicking the appropriate tab.

| Tabs | Description |
| Personal | Use this view tab to enter information such as name, address, social security number, employee #, and default department. |
| Wages | Use this view tab to set up wage information, such as salary or hourly rate, pay frequency, hire/terminate dates, last raise date, and department/job distribution percentages. |
| Taxes | Use this view tab to set up an employee’s W-4 options, advance EIC payments, and federal, state, and local tax withholdings. |
| Income | Use this view tab to assign up to eight Additional Income categories to an employee. |
| Deductions | Use this view tab to assign up to 16 Deduction categories to an employee. |
| Accrued Hours | Use this view tab to assign up to three accrued hour categories, such as sick or vacation, for an employee. Employees can earn a set amount by month, year, hour worked or pay period. |
| YTD | Use this view tab to enter an employee’s beginning year-to-date balances for wages, Additional Income categories, Deduction categories, and taxes, if necessary. |
| Documents | Use this view tab to import and export the document for every individual employee. |
How to Set Up an Employee
Since the employee list is available in all view tabs, you can set up your employees in one of three ways:
Set up all your employees within the same view tab and then select the next view tab.
Important: SUTA State must be selected for each employee before saving employee information or a default SUTA State will be assigned to the employee.
The default state will be the state you have setup in the Company Information window. If you don’t have a state setup in Company Information, the default will be the first state listed in the State Taxes Setup. If you don’t have any states setup in the State Taxes Setup, you will not be able to save any information in the Employee Setup other than Personal Information.
The preferred approach is to set up one employee completely across all the view tabs before moving on to the next employee, rather than setting up all employees in the same view tab and then selecting the next view tab.
Setting Up a New Employee
This section shows you how to set up a new employee in CheckMark Online Payroll.
- Click Employees option from the menu and then click Add Employee.
- Enter first, middle and last name.
- Click OK or press Enter.
Step result: The new employee should be added to the employee list.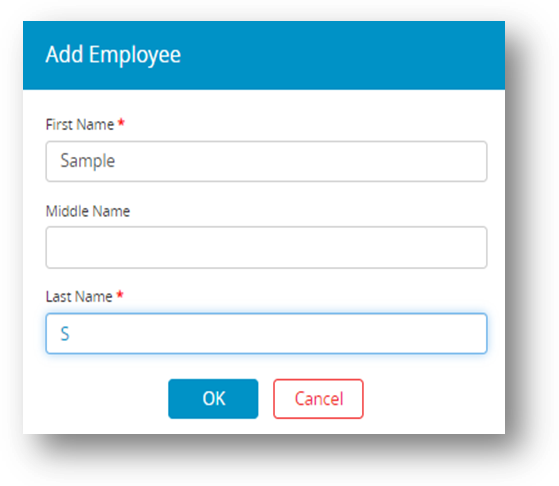
- Select the New Employee from the Employee list.
- Enter their personal, wages, taxes, income, deductions, accrued hours and YTD details.
- Click Save.
Warning: Punctuation marks such as a comma (,) in an employee’s name for items such as suffixes can cause errors when posting payroll information into certain accounting programs. The employee’s name is added to the employee list. You can either continue setting up the employee in the current view mode, or you can change to another view mode.
Saving an Employee’s Setup
Click Save to update the employee’s record when you’ve finished setting up an employee.
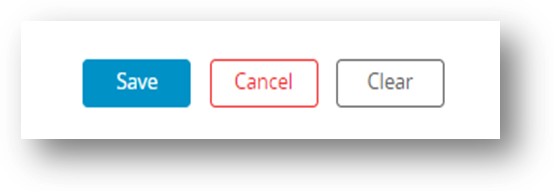
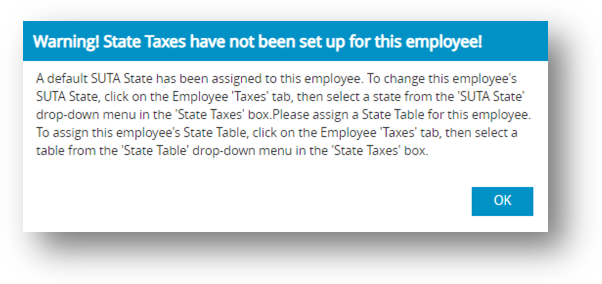
Note: If no SUTA State is selected, an alert appears reminding you that a SUTA State has not been selected and a default SUTA State will be assigned to the employee.
Deleting an Employee
Note: You can mark a terminated employee as inactive by checking the Inactive checkbox on the Personal view tab. When you start the new-year, employees marked as Inactive are automatically deleted. You can delete an employee as long as there aren’t any year-to-date balances associated with the employee.
- Click Employees option from the menu.
- Select the Personal view tab.
- Select the employee from the employees list.
- Click Delete.
Step result: An alert appears asking you to verify that you want to delete the employee. - Click Yes.
Adding Document to Employee
You can add a new Document which includes functionality that allows a company to upload documentation required for the Company.
- Click Employees option from the menu.
- Select the employee from the employees list and then click Add New Document.
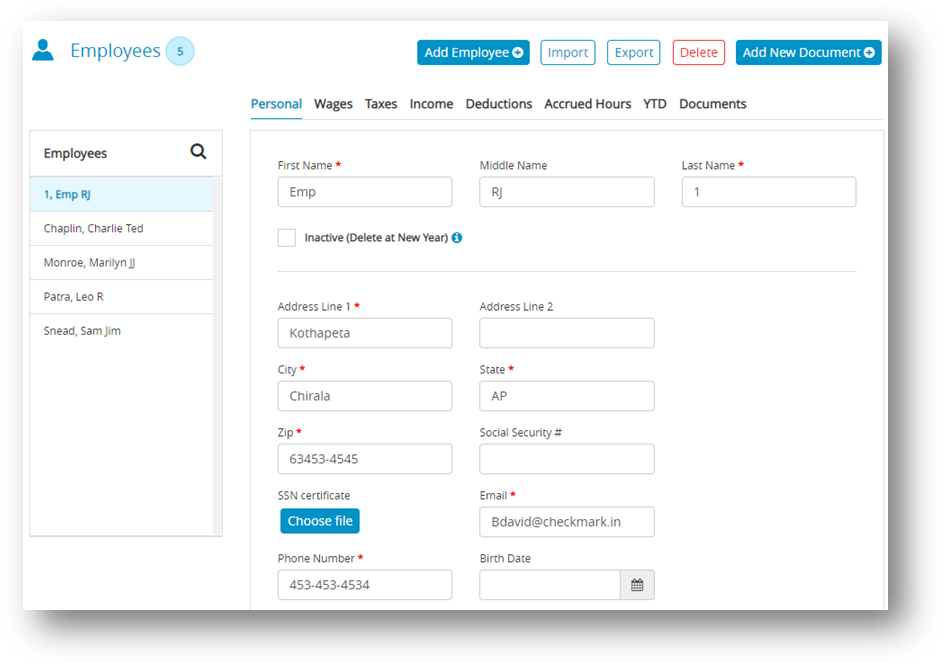
- Enter Document Name.
Note: Name can be up to 12 characters long. - Click Choose File, select file and then click Open.
Note: Check the Approved checkbox to confirm the uploaded document is right and check the Employee portal checkbox to make the document visible to your employees in Employee Portal. - Click Save.
Step result: The new document should now be added to the list of documents.

