
Protecting Your Files
This Article shows you how to back up company files in CheckMark Payroll to protect your company data files by backing them up, setting up a password and helping you locate payroll files.
Backing Up Your Company Files
There are two types of people: those who make back ups and those who wish they had. Backing up your database is not only prudent, but it’s easy to do on a regular basis.
CheckMark Payroll makes an automatic backup of the database every time you quit out of the software. This backup is saved in the _Backups folder located in the default database location. The default database backup location is:
Windows – C:\CheckMark\Payroll\”year”\_Backups
Mac – HD/CheckMark/Payroll/”year”/_Backups
Important: We cannot stress enough the importance of making frequent backups.
Backups are sometimes the only way to restore data that is lost due to a crash or power failure. CheckMark highly recommends you make additional backups on a flash drive or CD that are not stored on the same computer as payroll in case of computer failure.
Suggestions for Backing Up
At a minimum, we suggest that you make a back up after each pay period.
You can use the Create Backup… to create your own backups. You should back up to a disk other than the drive that contains the original company files, such as a server, another hard drive, a CD, or a flash drive.
Making a Backup
- Choose Backup Database from the File menu.
On Windows, it will look like this:
Use the pop-up menu and list below to choose where you want to save the backup.
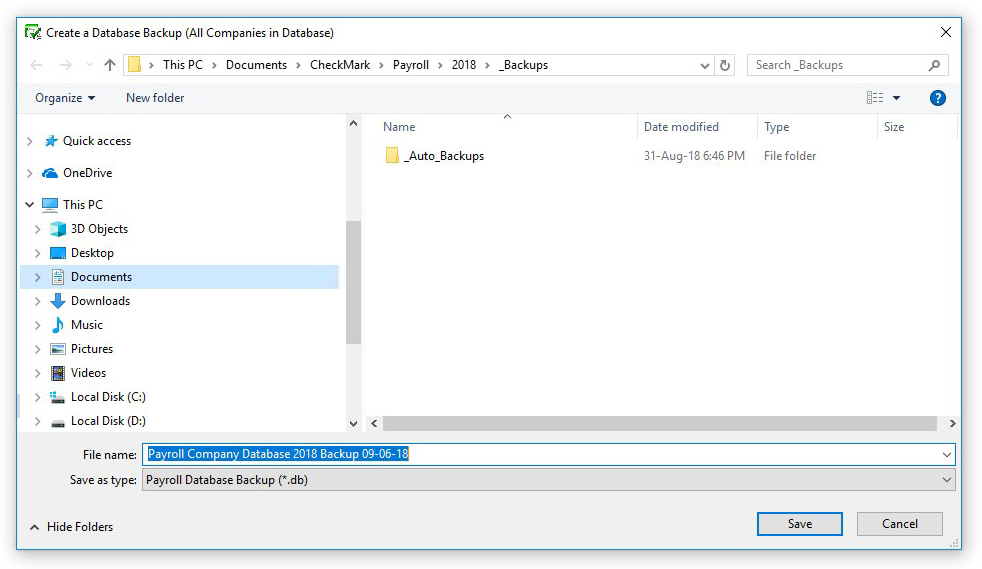
The default name for your backup is an auto generated name from the software. You can change this name if you want.
On Macintosh, it will look like this:
The default name for your backup is an auto generated name from the software. You can change this name if you want.
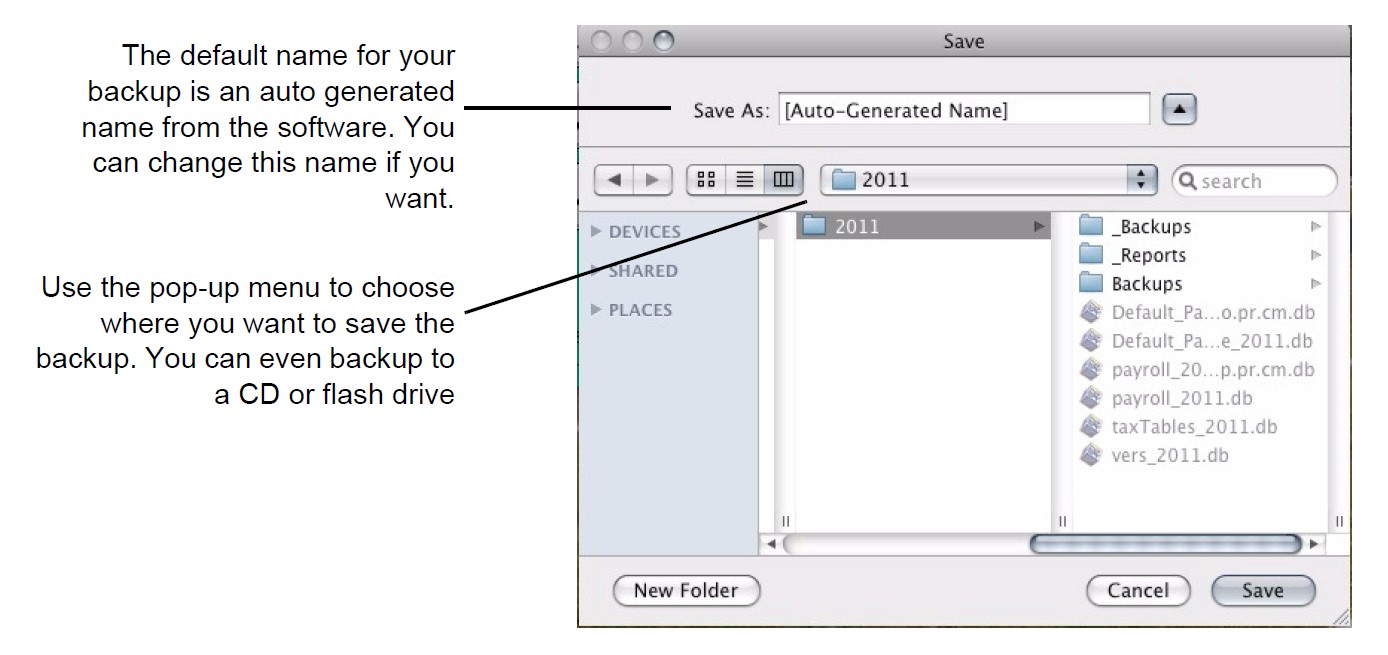
Use the pop-up menu to choose where you want to save the backup. You can even backup to a CD or flash drive
- The default name for the archive is auto generated by the software.
You can change the name of the backup archive, but you cannot change the file type.
- Choose where you want to save the backup archive.
Be sure to pay attention to where you save the backup. You may want to change the folder using the pull-down menu and list below. You can save the backup archive anywhere, such as on your hard drive, an external drive, a flash drive or burn to a CD ROM.
- Click Save.
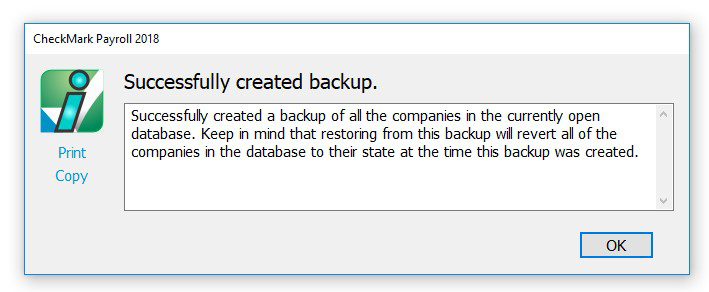
When the backup is complete you will receive a message showing the location where the backup database was saved.
Restoring Backup Database
Important: If you try to double click the “.db” backup file to open, you will most likely get the message that it can’t find an application to open. The .db files must be opened using the “Restore Backup…” command as described below before they can be opened.
- Launch the Payroll program.
- Choose Restore Backup from the File menu.
An Open dialog appears.
Note: If there are no existing databases in the database manager, you will receive a message that you need to Create a New Database and the create database screen will open.
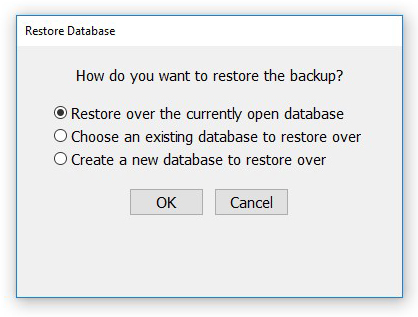
Restore over the currently open database:
Choosing this option will allow you to select the backup .db file and overwrite the current database that is open.
- Locate the backup .db archive using the dialog box.
If you backed up your company files on a CD, flash drive, or other external media you should insert it now. Use the Look in pop-up menu and list below to locate the backup archive.
Note: Payroll makes automatic backups of the database each time you quit out of the program. These are saved in the _Backups folder.
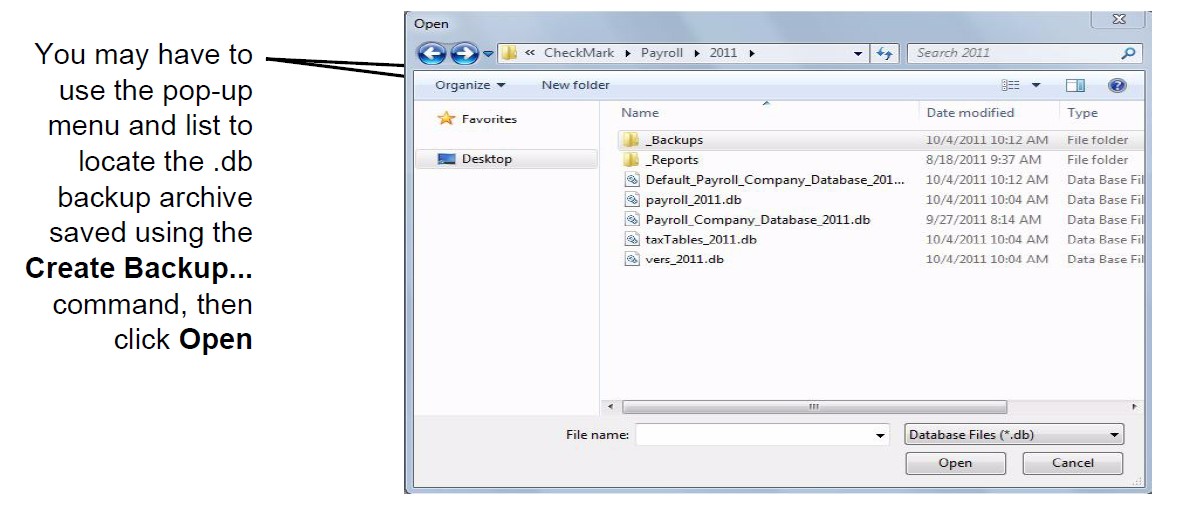
On Windows, it will look like this:
You may have to use the pop-up menu and list to locate the .db backup archive saved using the Create Backup… command, then click Open
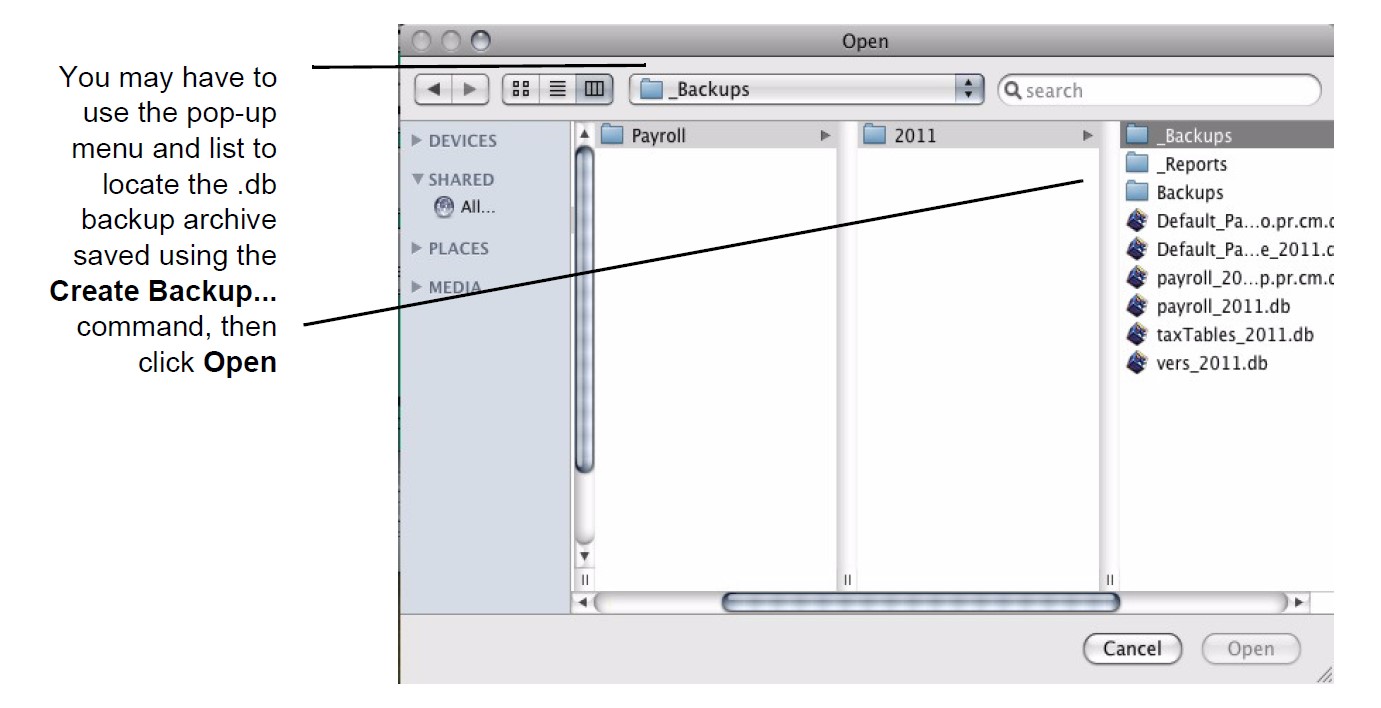
On Macintosh, it will look like this:
You may have to use the pop-up menu and list to locate the .db backup archive saved using the Create Backup… command, then click Open
Note: If your backups are stored on a CD, it may be necessary to copy and paste the backup file to your computer before restoring the archive.
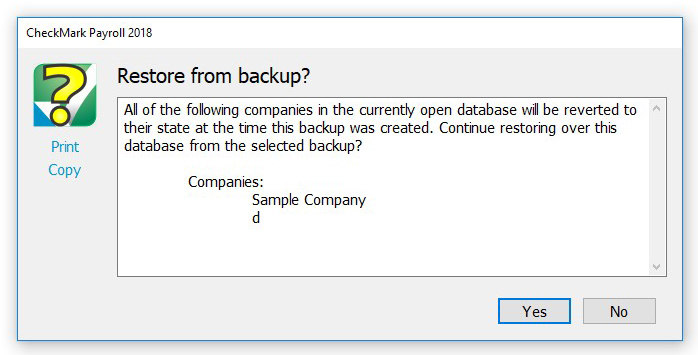
- Click Open. A warning message appears about overwriting all data in the current database.

Important: Unless your intent is to replace your current database with the restored backup, you should avoid continuing with the restore. Restoring the backup .db will replace the current database along with all set up companies within that database.
If you do not want to replace the entire database and all set up companies, you can add the database for viewing using the Database Manager command. For information on using the Database Manager,
see “Exiting CheckMark Payroll.”
Do Not click Yes if you do not want to overwrite the current database and all set up companies in that database. To view a backup database without overwriting the current database, you can add the database to open in the Database Manager. For information on using the Database Manager, see “Exiting CheckMark Payroll.”
- Click Yes to restore the backup database.
- Click OK to begin working in the restored database.
Setting Up a Password
You can set up a password to restrict access to your company files. The password is not case sensitive. For example, an upper case “T” is treated the same as a lower case “t”.
- Click Company Information in the Command Center.
- In the Password edit box, enter a password up to 40 characters long.
![]()
- Close the window and save changes when prompted.
When you open the company, you will be prompted for the password.
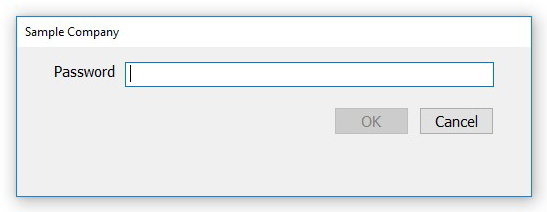
Enter the password and click OK. As you enter the password, the characters in the edit box appear as asterisks (*) to prevent the password from being seen by others.