Setting Up Recipients
This article explains how to setup new Recipients for each company.
Creating New Recipient
- Open the Database that contains the company to which you want to add recipients. If no Database exists you must first create one. See “Create New Database.”
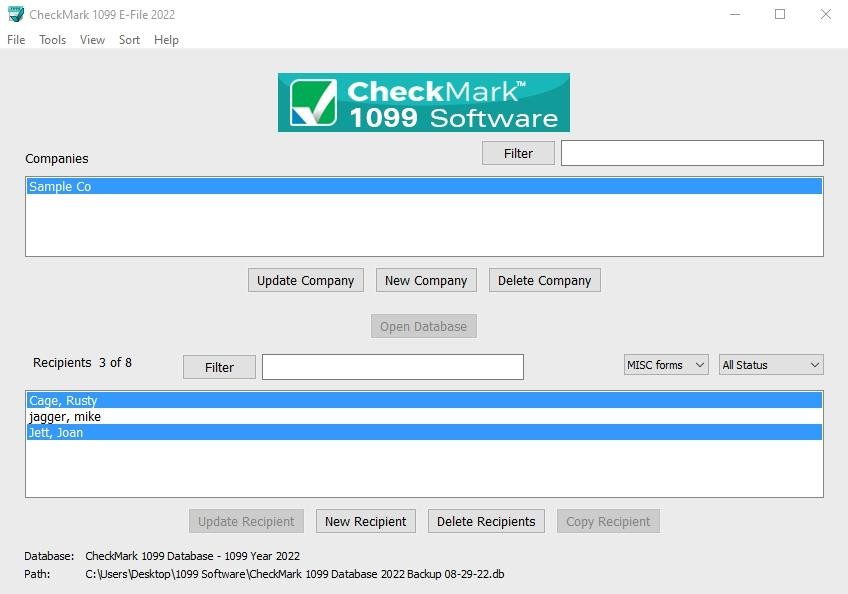
- Select a Company from the list. If no Companies are listed, you must first set up a company before adding recipients. For information on setting up a new company, see “Creating a New Company.”
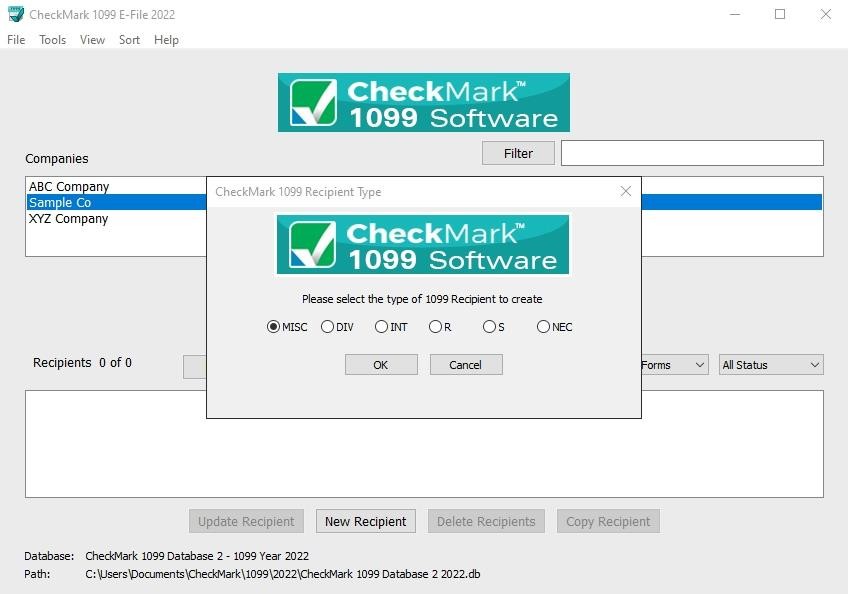
- Click the New Recipient button.
The list of fields for the new recipient corresponds to the same fields found on the 1099 forms
- Choose which type of 1099 form this recipient should receive and click OK.
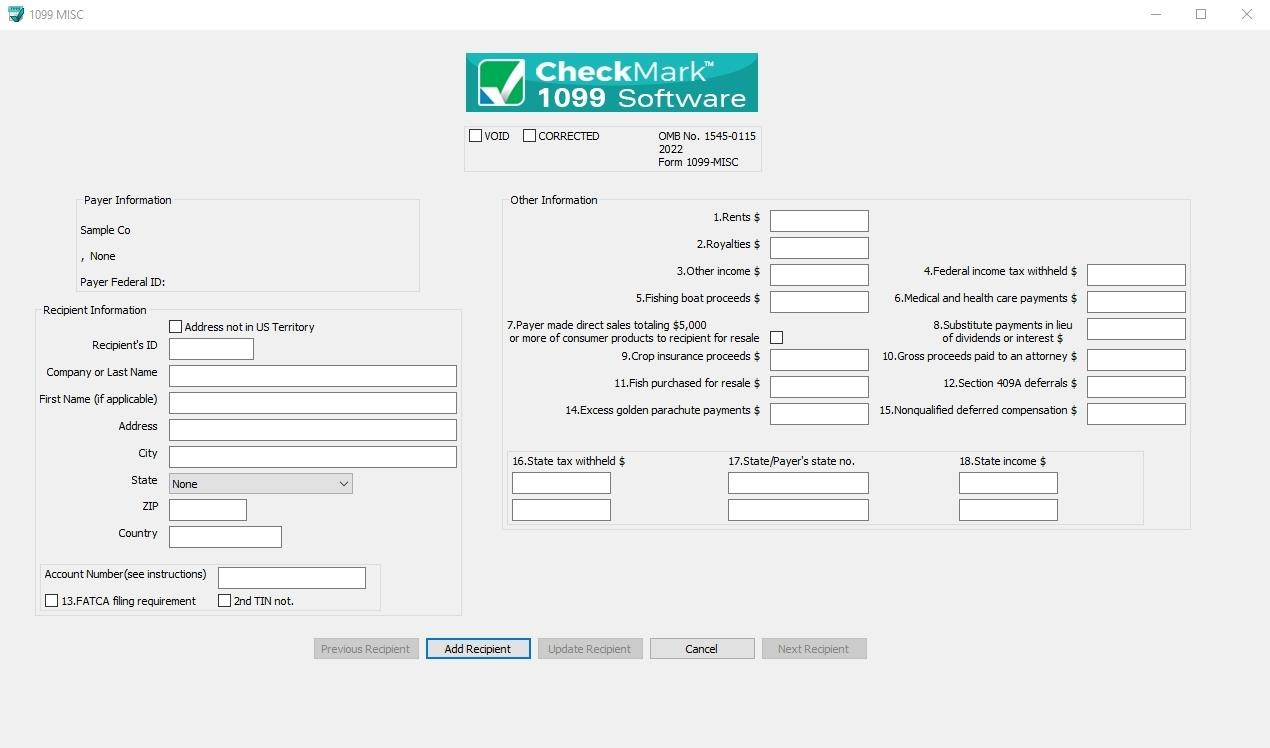
- Enter the Recipient’s ID along with the Recipient’s Information.
- Fill in any fields that are applicable for the recipient.
- Click the Add Recipient button to Save the information.
If any information is invalid, a popup window will open explaining which fields have errors.
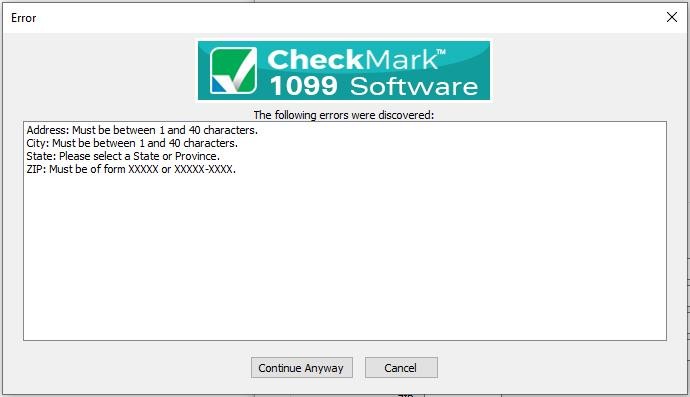
Press cancel to go back to the set up screen to correct any errors, or Continue Anyway to Save the recipient information
NOTE: If any field has an invalid entry, once you return to the Recipient set up screen, that field name will show up in “Red”. In addition, some fields will not save the invalid information and remain empty. For more information on validated information, see “Validated Status.”
Updating an Existing Recipient
- Select the company that contains the recipient(s) you wish to update.
- Highlight the recipient in the list you wish to update and click Update Recipient but-ton.
- After all changes have been made to the Recipient Information, click Update Recipient button to save changes.
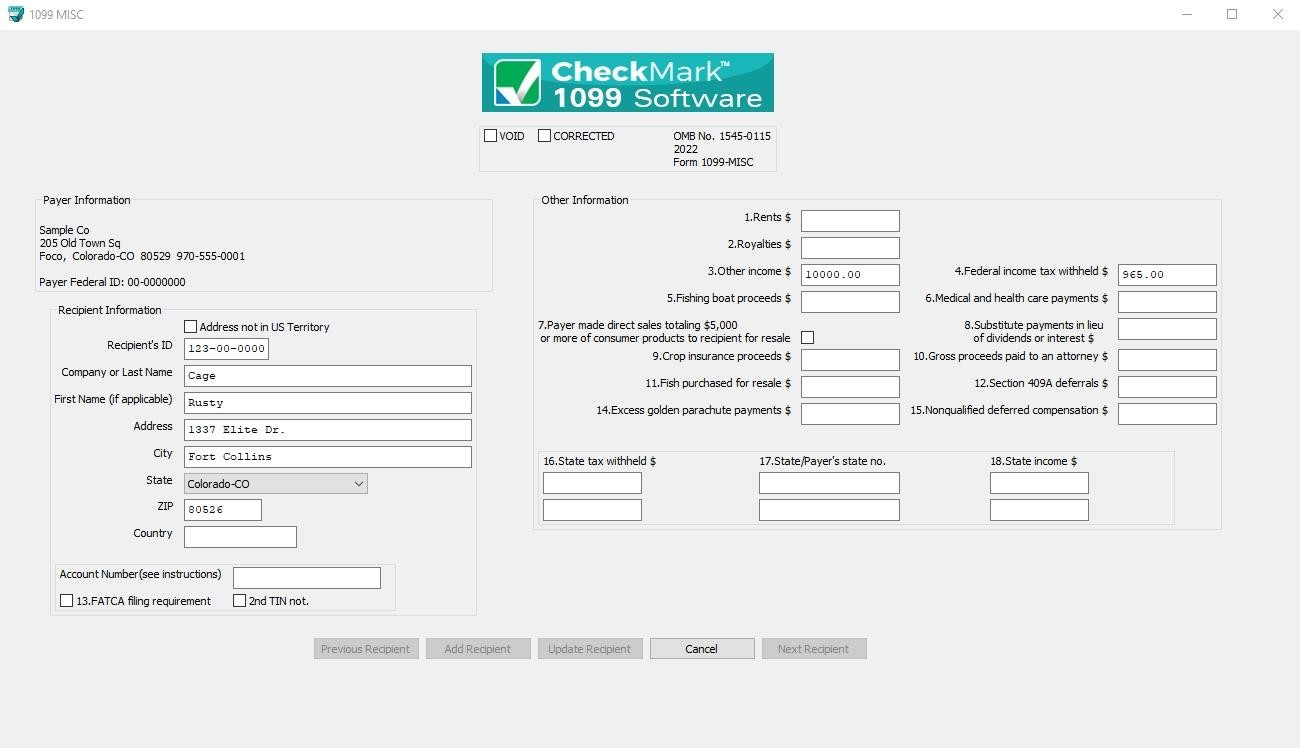
If any information is incorrect, a popup window will open explaining which fields have errors.

Press cancel to go back to the set up screen to correct any errors, or Continue Anyway to Save the recipient information.
NOTE: If any field has an invalid entry, once you return to the Recipient set up screen, that field name will show up in “Red”. In addition, some fields will not save the invalid information and remain empty. For more information on validated information, see “Validated Status.”
Voided Recipient
If a 1099 is incorrectly filed, or included in a filing, that was incorrectly filed, you can resubmit the 1099 as a Voided copy to void the original 1099 to the IRS. Please read the IRS Instructions on how to file this.
- Select the recipient from the list and click Update Recipient button
- Click the Void check box at the top of the screen.
If the recipient’s Status is already considered Printed and/or Completed, you’ll receive a pop up window asking if you would like to change the status back to Not Printed and/or Not Completed. For information on what the different Statuses mean, see “Status.”

- Mark the corresponding checkbox next to “NOT Printed’ and/or “NOT Complete” if you want to change the status and click the Save and Continue button. If you do not want to change the status, click the Cancel button. If you do not select either checkbox, you can still click the Save and Continue button to save any updated recipient information without changing their status.
If you initially printed the form, reprint another 1099 with the updated Void status and submit that form to the IRS with a new 1096 form. for instructions on printing 1099 forms, see “Printing 1099s for Recipients.”
If you initially e-filed, create a new .txt file with that recipient and updated Void information and submit it to the IRS. For information on e-Filing, see “Creating a file to eFile.”
Corrected Recipient
If a 1099 is filed, or included in a filing, with incorrect information, a Corrected 1099 must be filed with the IRS.
- Select the recipient from the list and click the Update Recipient button.
- Click the Corrected check box at the top of the screen, update any information and click the Update Recipient button to Save.
If the recipient’s Status is already considered Printed and/or Completed, you’ll receive a pop up window asking if you would like to change the status back to Not Printed and/or Not Completed. For information on what the different Statuses mean, see “Status”

- Mark the corresponding checkbox next to “NOT Printed’ and/or “NOT Complete” if you want to change the status and click the Save and Continue button. If you do not want to change the status, click the Cancel button. If you do not select either checkbox, you can still click the Save and Continue button to save any updated recipient information without changing their status.
If you initially printed the form, reprint another 1099 with the updated Corrected status and submit that form to the IRS with a new 1096. for instructions on printing 1099 forms, see “Printing 1099s for Recipients.”
If you initially e-Filed, create a new .txt file with that recipient and updated Corrected information and submit it to the IRS. For information on eFiling, see “Creating a file to eFile.”
Deleting a Recipient
- Select the company that contains the recipient(s) you wish to delete
- Highlight the recipient in the list you wish to Delete.
If you want to delete more than one recipient, you can highlight multiple recipients at once. See “Selecting Multiple Recipients.”
- Click Delete Recipient button.
- A pop-up window appears to confirm that these are the recipients you want to delete.
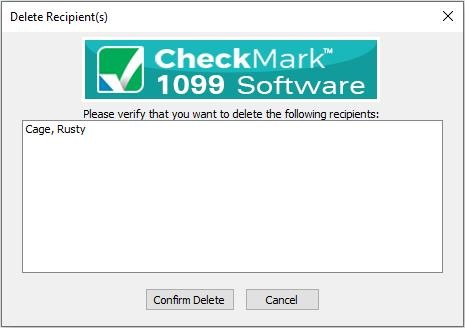
- Click Confirm Delete to complete the process.
Copy Recipient
If you have a recipient that needs to be included in multiple companies or requires different types of 1099 forms, you can easily copy that person’s set up information and add them either under a new company and/or with a different type of 1099 form.
- Select the company that contains the recipient(s) you wish to copy.
- Highlight the recipient in the list you wish to copy.
- Click the Copy Recipient button.
- A pop-up window appears. Select which company and which type of 1099 form this recipient should be copied as.
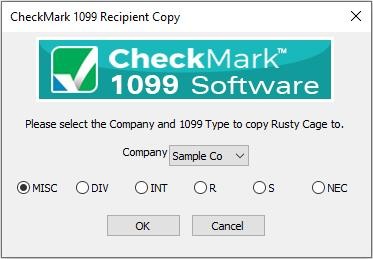
- Click OK to copy the recipient.
Filtering Recipients
You can use the Filter button to search for certain recipients in the list. To find a particular recipient, enter all or part of the name into the Filter box area above the recipients section and click the Filter button. The Filter will search for any recipients that contain those variables.
You can also use an asterisk(*) to help sort groups. For instance, if you enter the first letter and then an asterisk, ex: N*, you will receive all recipients that start with the letter “N”.
IMPORTANT: When filtering, make sure you choose the appropriate form you want to search in. If filtering from All Forms, recipients will be searched from the entire company. If however, you choose DIV Forms for example and filter certain variables, only those recipients set up as receiving a 1099-DIV will be displayed in the results.
Sort Recipients
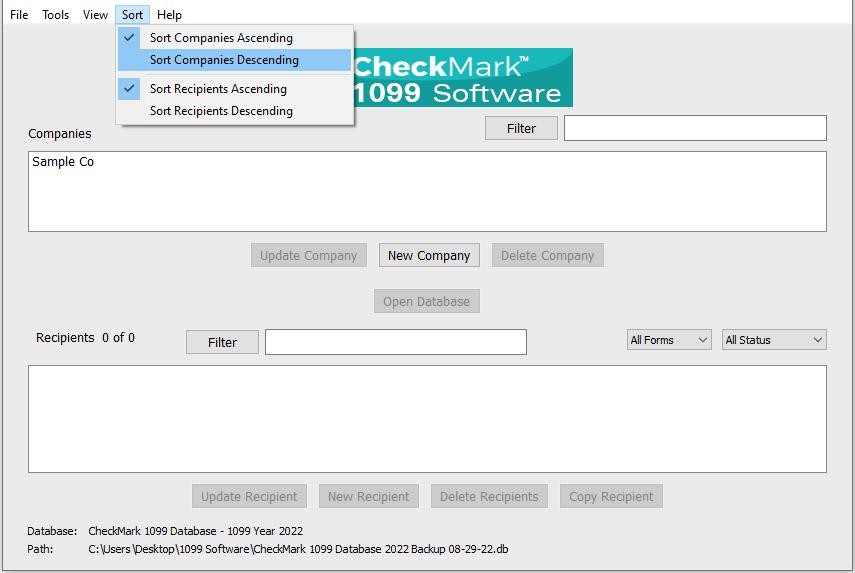
You can sort recipients by Ascending or Descending order. To select which type of sort to use, go under the Sort menu at the top of the screen and choose either Sort Recipients Ascending or Sort Recipients Descending.
Status
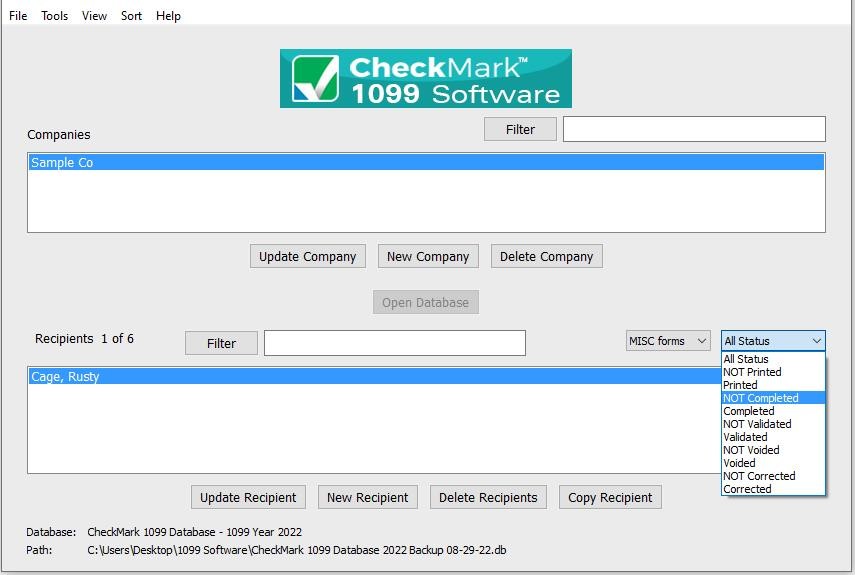
The Status drop down menu has certain statuses that are categorized based upon their setup and completion of being printed. You can sort using the different options to see which employees or vendors have been Printed, Completed, Validated, Voided, or Corrected.
Recipients can be in multiple statuses at the same time, however you can only sort by one status at a time.
NOTE: Before choosing a Status, you should first select one or more companies in the list. For information on selecting multiple companies see “Selecting Multiple Companies.”
Printed Status
You can easily sort using this status to see which recipients still need the form 1099 printed.
You can select either Printed or Not Printed status to sort for recipients by whether or not you have printed a 1099 for them. Once you select the Print Forms for Recipient command from the File menu, that recipient will automatically be moved to the Printed status from the NOT Printed status.
Completed Status
You can use the Completed status to indicate which recipients have or have not been printed or e-Filed this form 1099 for employer related copies.
Once you select the Print forms for Filing option under the File menu, recipients listed under NOT Completed will be moved to the Completed status.
Validated Status
Sorting by Validated or NOT Validated helps you easily determine if there is any recipient that is not set up correctly. In the recipient screen, certain fields require specific characters, numbers, etc. to be accepted upon filing.
Select Validated to see which recipients are ready to be filed. Select NOT Validated to see any recipients that have set up criteria which is incorrect for filing purposes. Once you have sorted by NOT Validated, select a recipient and click on the Update Recipient button to view the set up and make necessary changes. Fields marked in “RED” do not meet the requirements for filing and corrections should be made.
Voided Status
In the Recipient set up screen, there is a checkbox at the top of the screen for Void. If you filed a 1099 for a recipient that was unintended, you can mark Void to resent the 1099 for that recipient as a void status.
Choosing a Voided status will list all recipients marked Void in the Recipient set up screen. All other recipients that are not marked Void in the recipient set up screen are listed as NOT Voided for a status.
Corrected Status
In the Recipient set up screen, there is a checkbox at the top of the screen for Corrected. If you filed an incorrect 1099 and need to resubmit a new 1099 with updated information, select the Corrected checkbox in the recipients set up screen before submitting the new 1099 information.
The Corrected status indicates all recipients who are marked as Corrected in the recipient set up screen. All other recipients will be listed as Not Corrected.
Selecting Multiple Recipients
Consecutive Selection
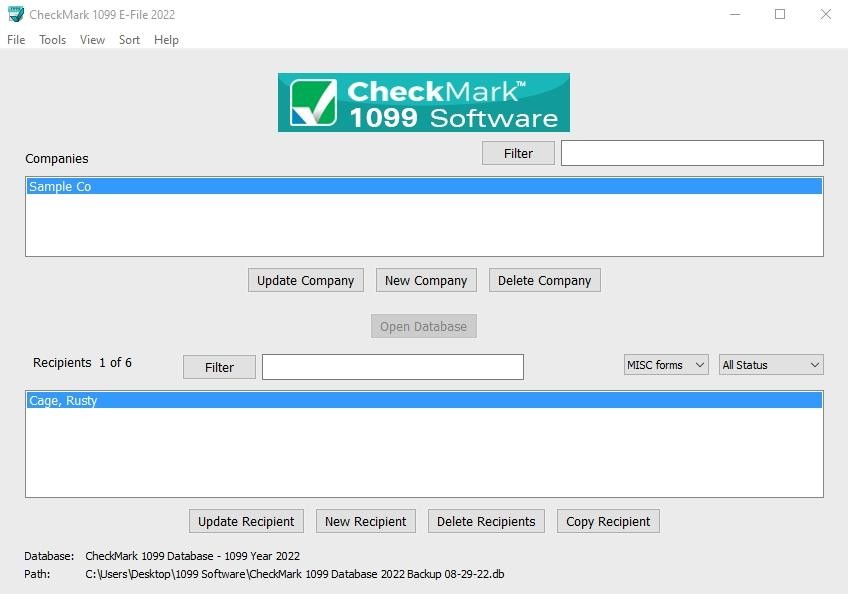
Windows: You can select multiple recipients by clicking the first recipient while holding down the mouse and moving the mouse down through the list
You can also click the first recipient, hold down the ‘SHIFT’ key on the keyboard and then click on the last recipient you want in the list.
Macintosh: Click on the first recipient you want in the list, hold down the ‘SHIFT’ key on the keyboard and then click on the last recipient you want in the list
Non-Consecutive Selection
Windows: To select specific recipients as a group, click on the first recipient you want, hold down the ‘CTRL’ key on the keyboard and click on any other recipients you want to include.
Macintosh: To select specific recipients as a group, click on the first recipient you want, hold down the ‘COMMAND’ key on the keyboard (also known as the Apple key) and click any other recipients you want to include.
