
This article explains how to print 1099 forms – recipient copies, filing copies, Form 1096, mailing labels, and summary reports.
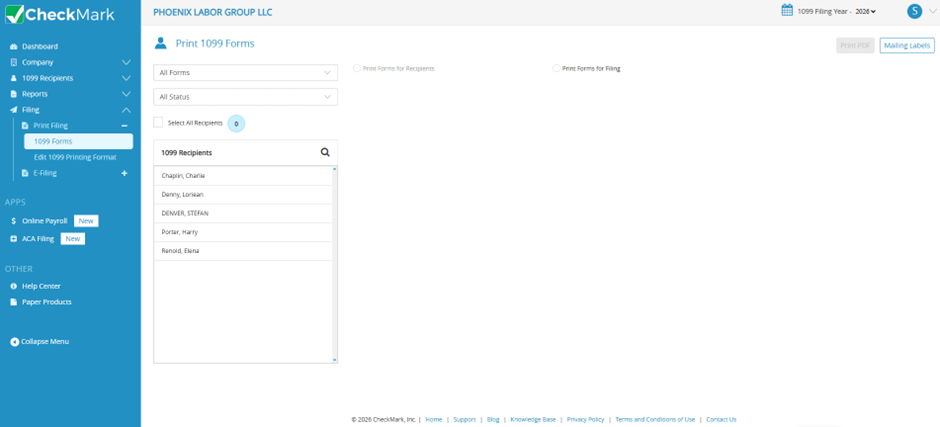
Before printing, verify that all recipient information has been added and validated to avoid printing forms with missing or incorrect information.
Important
- Install the latest version of Adobe Acrobat Reader to view and print PDF forms correctly.
- Verify your printer alignment before printing on preprinted 1099 forms.
- Review all recipient information before printing or filing your forms.
Printing Forms for Recipients
Print recipient copies when you are ready to distribute 1099 forms to recipients.
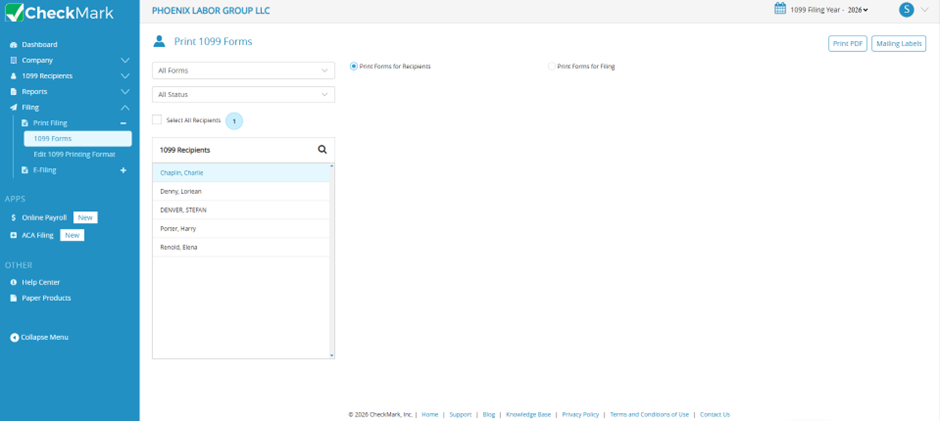
Printing Recipient Forms
- Select the appropriate 1099 form type from the All Forms list:
- 1099-NEC
- 1099-MISC
- 1099-INT
- 1099-DIV
- 1099-R
- 1099-S
- (Optional) Use the Status filter to display specific recipients.
- Select one or more recipients.
- Click Print Forms for Recipients.
The Print Options window opens.
- Select the appropriate print layout for your form.
- 1099-NEC – 3-up or 4-up
- 1099-MISC – 2-up or 4-up
- 1099-INT – 2-up or 4-up
- Follow the on-screen prompts to load the appropriate forms into your printer.
- Review the generated PDF, then print or save it.
Print 1099 Forms for Filing (Company)
Use this option to print the copies that will be filed with the IRS, including Form 1096 when applicable.
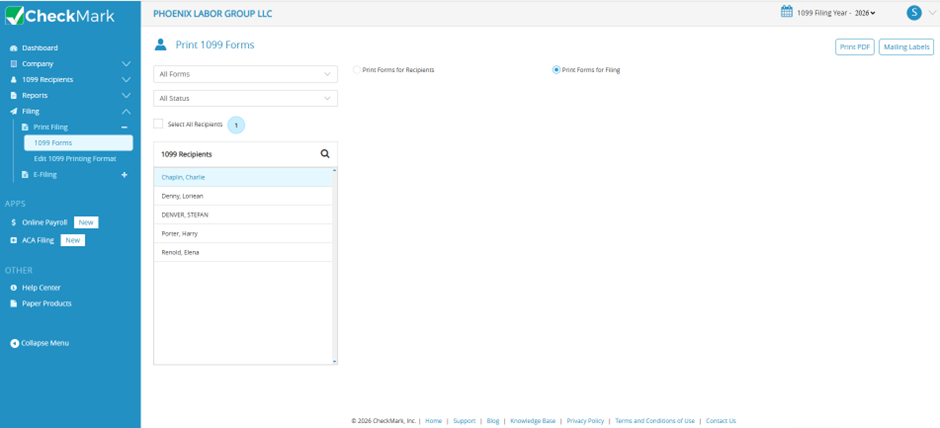
Print Filing Copies
- Select the appropriate 1099 form type.
- (Optional) Filter recipients using the Status list.
- Select the recipients to include.
- Click Print Forms for Filing.
The application guides you through several print options.
Print Options
- Printer Alignment – Verify the alignment before printing on preprinted forms.
- 1096 Totals
- Use all recipients for 1096 totals (recommended for standard filings).
- Use selected recipients for 1096 totals (recommended when filing corrected or voided forms).
- Recipients to Print
- Print selected recipients.
- Print all recipients.
- Print Layout
- Choose the appropriate 2-up, 3-up, or 4-up format based on the selected 1099 form.
- Calendar Year Format
- Select Print “For Calendar Year” column as only “26” to print the two-digit year.
- Leave the option unchecked to print the full year (for example, 2026).
After confirming your selections, follow the prompts to load the appropriate forms into your printer.
A PDF copy of the forms opens in a new window. You can:
- Click Save icon, then select Adobe Acrobat from the dropdown to download the file.
- Click Printer icon to automatically download the file in PDF format.
Customizing Print Alignment (Edit Format)
If printed information does not align correctly on preprinted forms, you can adjust the print positions.
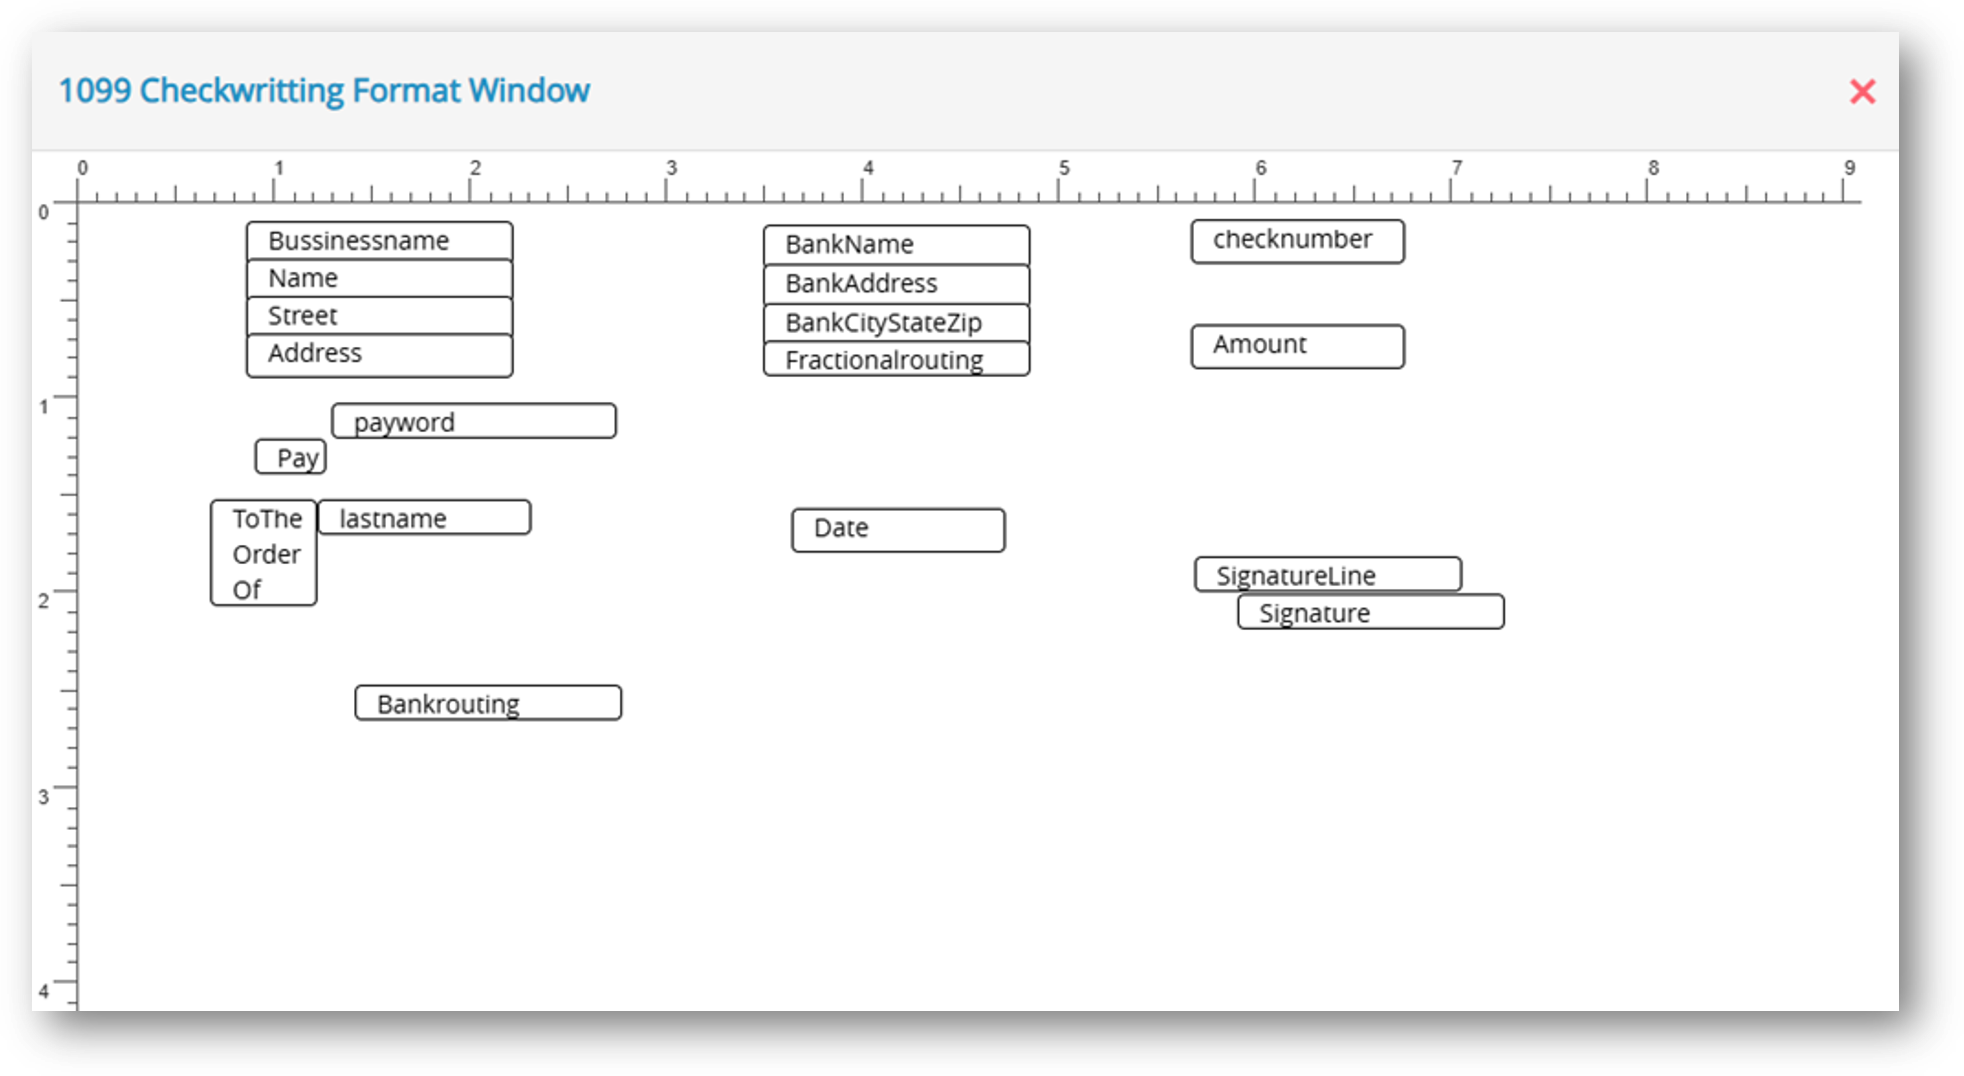
Editing Print Format
- Select Filing > Print Filing > 1099 Recipients Edit Format.
- Select the form you want to customize.
- Click Edit Current Custom Format.
- Drag any field to adjust its position.
- Click Yes to save your changes.
Restoring the Default Layout
- Close the format editor.
- Click Reset Format.
- Click Yes to restore the default layout.
1099 Summary Report
The 1099 Summary Report summarizes recipient payments by 1099 form type. Use this report to verify totals before printing or filing.
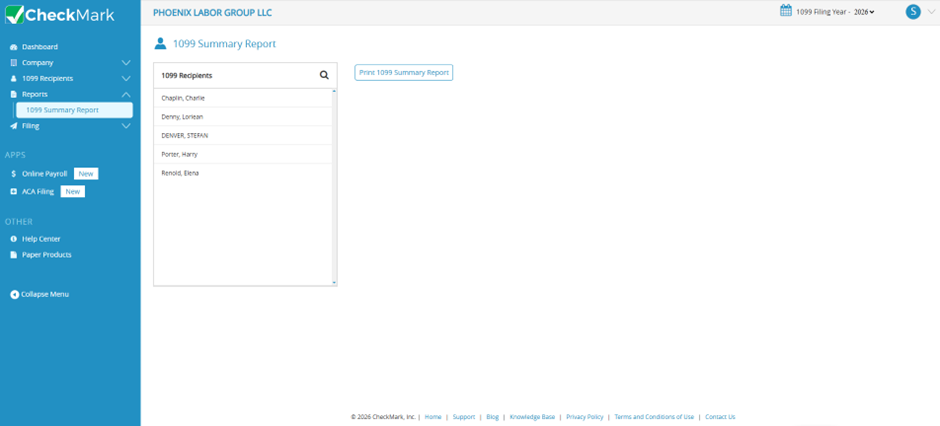
Generating the Summary Report
- Go to Reports from the left navigation menu.
- Select 1099 Summary Report.
- Click Print 1099 Summary Report.
- The report will be generated in a new window.
- Click the Save icon, then select Adobe Acrobat from the dropdown to download the file, or click the Printer icon to automatically download the file in PDF format.
Compare the totals with Form 1096 to verify your filing information.
Printing Mailing Labels
Generate mailing labels for recipient copies of your 1099 forms.
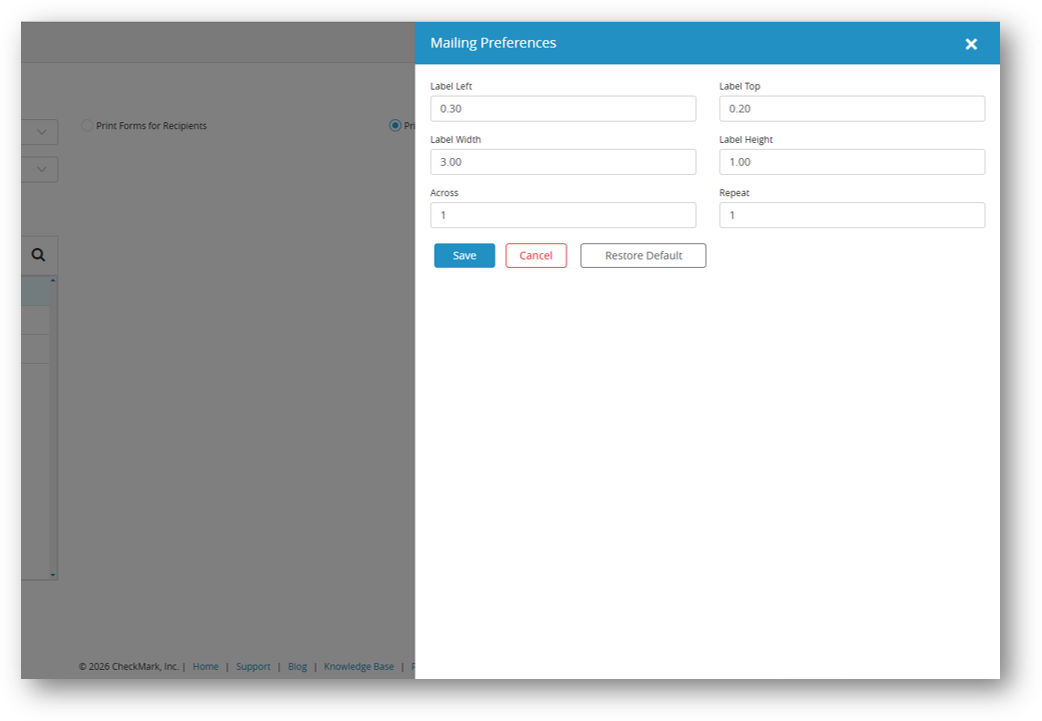
Printing Mailing Labels
- Select Filing > 1099 Recipient Forms.
- Click Mailing Labels.
- If prompted, update the mailing label settings, such as label width and height.
- Click Yes to save the changes or No to continue using the current settings.
- A PDF containing the mailing labels opens.
- Print the labels or save the PDF for future use.
Related Links: